Tennis Shots to teach your child
Tennis: Hitting Basic Shots
For your child to be able to play, they need to learn the two essential tennis shots: the forehand and the backhand. Those are the only two shots that matter for any child being introduced to the game. Of course, as your kid progresses, they will learn how to serve, volley, and put different spins on the ball, but we’re not ready for those tennis skills yet.
The good news is that the forehand and backhand are easy shots to practice – your child can even try doing them at home.
🎾 Teach your child the Golden Rule of Tennis: Always keep your eye on the ball.
Getting started: the ready position
The ready position isn’t so much a skill as it is a launching point for a shot. If your child understands what the ready position is, and gets used to standing in that position, they will be ready for any ball that comes towards them.

To adopt the ready position, ask your child to put their feet shoulder-width apart. Tell them to bend their knees but keep their back straight. They should be holding the racquet with both hands at around chest height, with the tip of the racquet pointing up and towards the net. And they need to bounce! Not like a kangaroo, but they should gently bounce up and down on the balls of their feet.
If they need encouragement, tell them that they are a superhero, guarding the back of the court. They need to be ready to stop anything that comes at them.
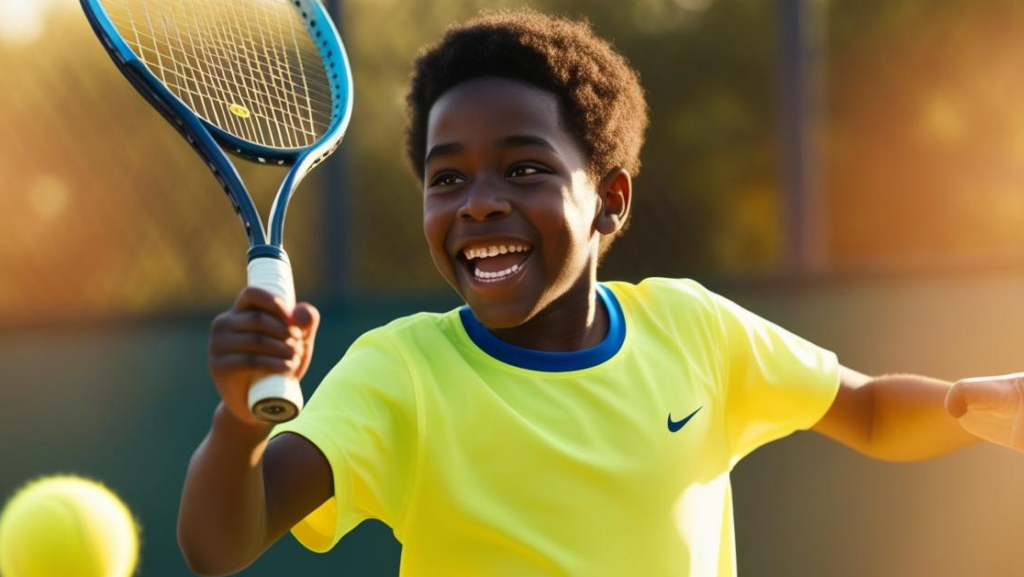
How to Hit a Tennis forehand
A tennis forehand is the first shot that every tennis player knows how to hit. It’s the tennis shot that almost everyone will do if you ask them to mimic hitting a tennis ball. Hitting a forehand looks straightforward, but if your child falls in love with tennis, they will spend a lifetime practicing the shot.

Like everything in tennis, we’re going to start from the ready position.
🎾 Step 1 – The Turn and Takeback. Ask your child to turn their shoulders so their non-racquet shoulder faces towards the net, or the direction that the ball is approaching them from. As they do this, their racquet should naturally move back behind them. We want the racquet at around hip height, and there should be a slight bend in their arm.
🎾 Step 2 – Swing and Contact Point: Tell them to keep their arm relaxed, but maintain that slight bend. Ask them to swing the racquet towards the ball. They should try to hit the ball slightly in front of their body. Remind them to keep their eye on the ball throughout.
🎾 Step 3 – Follow Through: After hitting the ball, they should let their arm and racquet continue swinging naturally up over the opposite shoulder. This is important: it helps to control the ball and completes the stroke.
How to hit a tennis backhand
There are two types of tennis backhand: a single-handed backhand (with one hand on the racquet) and a double-handed backhand (with both hands on the racquet). For younger children, the double-handed backhand is easier to learn as they are able to use the strength in both their arms.

🎾 Holding the racquet for a two-handed backhand: Before we hit the ball, we need to make sure your child’s hands are in the right position. Fortunately, it’s pretty easy. Have your child hold the racquet with their dominant hand using the regular ‘handshake’ grip. Then, ask them to place their other (non-dominant) hand on the grip just above it, as if they were going to swing a baseball bat. Both hands should be close together.
🎾 Step 1 – The Turn and Takeback: To prepare for a backhand, ask your child to turn their body so that their hitting shoulder points towards the net. If they are right-handed, this is their right shoulder. Make sure that they have both hands on the racquet. As their shoulder turns, the racquet should naturally move backwards. We want it at around waist height.
🎾 Step 2 – Swing and Contact Point: Like with the forehand, ask them to swing the racquet forward. Their arms should be almost straight, with a slight bend at the elbow. The racquet should swing from ‘low to high’, starting below the ball and finishing above it. We are aiming to have your child hit the ball just in front of the body.
🎾 Step 3 – Follow Through: After they hit the ball, make sure your child keeps both hands on the racquet during the follow through. The momentum should carry the racquet smoothly across the body, finishing near or over the opposite shoulder.

Time to practice!
Don’t expect your child to perfect the forehand or backhand in a day – people spend years learning these shots. Fortunately, there are a few drills you can use to help them get familiar with the movement of hitting a forehand and a backhand.
More sports
Gymnastics
Gymnastics is fun, easy to start, and great for kids’ strength, balance, and confidence.Basketball
Explore fun, effective basketball drills and training tips for kids and beginners. Help your child build skills, confidence, and love…