Gymnastics: Essential skills
Gymnastics: Four key skills
Before your child even sets foot on a balance bar or tries their luck on the parallel bars, they need to learn the essential skills of gymnastics. While skills like balancing and jumping are important for all gymnasts to develop, there are a few key moves that will help them progress if and when they begin lessons. The great news is that, even if they decide gymnastics isn’t for them, the forward roll, cartwheel, bridge, and handstand are all skills children can practice at home.
How to do a Forward roll (somersault)
The forward roll – or somersault – is a crucial skill in gymnastics. Learning to roll begins with mastering the correct technique.

🤸♀️ Step 1 – Start in a Tuck Stand: Ask your child to stand with their legs shoulder-width apart. Ask them to put their hands down on the floor and tuck their chin against their chest.
🤸♀️ Step 2 – Tuck the Head: Ask your child to look at their belly button. This is important as it will help to protect their neck during the roll. Their chin should be tucked tightly against their chest.
🤸♀️ Step 3 – Push and Roll: When your child is in position and their head is on their chest, ask them to bend their arms. If they are on a downward slope, they will naturally feel themselves starting to roll forward. If they are on a flat surface, tell them to push with their legs. You should guide them through the roll the first few times that they attempt it, as it can be disorientating to a young child.
🤸♀️ Step 4 – Finish Standing Up: As they roll over, they should place their feet on the floor and use their momentum to stand up without using their hands.
How to do a bridge
The bridge is one of those moves that is synonymous with gymnastics. It improves strength and flexibility in the back, shoulders, arms, and legs. It’s also a decent party trick – particularly if you can do the ‘bridge walk’ (we can work on that another time).
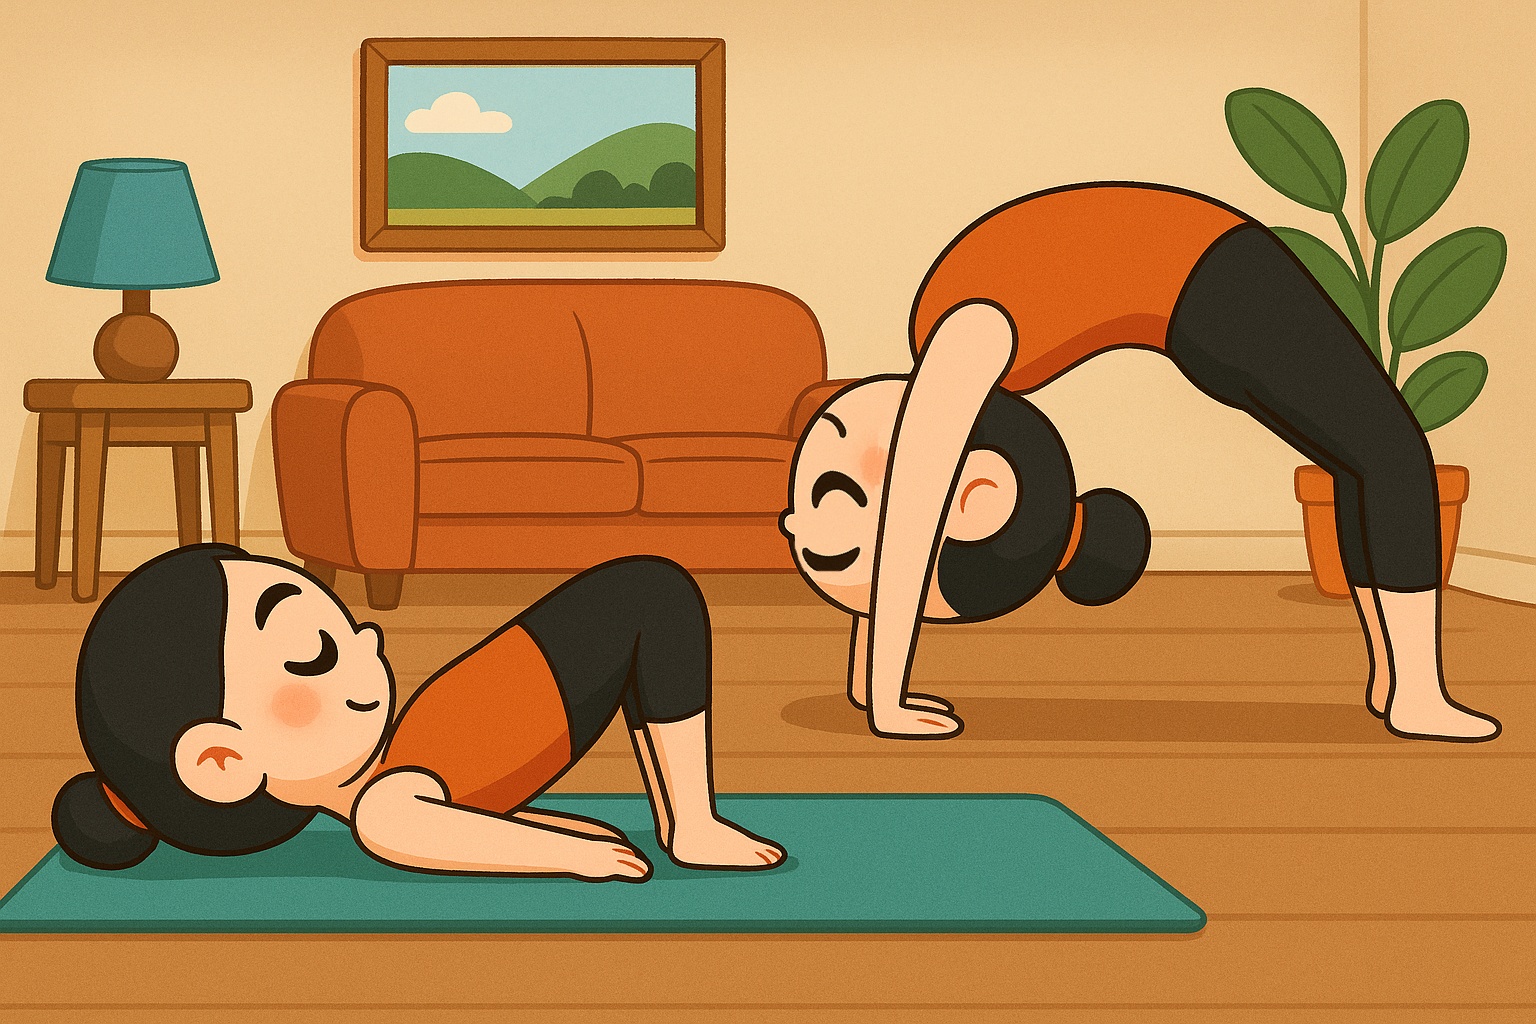
🤸♀️ Step 1 – Lie Down: Ask your child to lie on their back. Their knees should be bent, their feet flat on the floor close to their bottom. Their hands should be flat on the floor, close to their ears, with their fingertips pointing towards their toes.
🤸♀️ Step 2 – Push Up: This is the hard part, and you’ll need to help them at first. Have them push down evenly through their hands and feet. They should lift their hips and shoulders off the ground until they form a bridge shape with their arms and legs almost straight. For beginners, a ;Table Top’ bridge (lifting only their hips) is a great first step.
🤸♀️ Step 3 – Hold and Lower: It’s important that they only hold this position for just a few seconds at first. Help lower them gently back down and rest. When they are ready to try for themselves, tell them to tuck their chink to their chest, then gently lower their shoulders, back, and bottom to the floor.
how to do a handstand
Every child, at one point or another, is going to try to do a handstand. Gymnasts do them all the time. When practicing handstands, it’s helpful to have a mat or a soft surface to land on. Also, while your child perfects the technique, they may need you to hold their legs or guide them towards a wall if that is preferable.

🤸♀️ Step 1 – Get into a ‘Lunge’ Pose: Ask your child to put their hands up straight into the air. Their arms should be against their ears. Put their favourite foot in front, and their back leg stays straight.
🤸♀️ Step 2 – Practice the Seesaw: Don’t handstand yet. Instead, ask your child to practice kicking back with their back foot and planting their hands on the floor. Their fingertips should be spread, and their arms should stay straight close against their ears. The legs can lift off the ground to a 90-degree angle before dropping back down.
Fingertips are essential in a handstand. Your child should use their fingertips to balance when falling backwards, and their palms when falling forwards.
🤸♀️ Step 3 – Kick Up: Okay, your child is about to go vertical. In the beginning, stand in front of your child so that you can catch their legs. As they practice and get more confident they can do it up against the wall. Ask them to drive harder through their legs so they push up into a vertical position. If you are holding their legs, encourage them to balance themselves using their fingertips and palms. If they feel balanced, release your hold and see if they can sustain the position. After a few seconds, gently push their legs back to the starting position.
How to do a cartwheel
The Cartwheel is one of the more complicated moves for a child to learn, but once they know how to do it, they will cartwheel as much as they can.

🤸♀️ Step 1 – Preparation: Ask your child to assume the ‘lunge’ pose, with their lead leg forward and slightly bent (both legs can be the lead leg – they can experiment to see which they prefer). Their arms should be straight up in the air, close to their ears.
🤸♀️ Step 2 – The Star Shape: Ask them to lean forward, keeping their arms and back straight. They should bend about halfway to the ground, and as they do bring up their back foot. They will form a ‘Star’ shape.
🤸♀️ Step 3 – Hand, Hand, Foot, Foot: If the right foot is the lead foot, ask them to put their right hand down first, in line with that foot. Their fingers should be pointing outwards. When they are ready, ask them to put their left hand down, again in line, and with fingers pointing outward. Their arms should be shoulder-width apart.
🤸♀️ Step 4 – Making the ‘Y’ Shape: You may need to assist them with this step. Pushing off with the lead leg, straighten the body so both legs point upwards into the air. Try to get them to balance their weight above their shoulders.
🤸♀️ Step 5 – The Finish: Ask them to put the lead leg down first. The hand on the side of this leg will start to rise as they finish the move. Make sure it stays straight and close to their ears.
🤸♀️ Step 6 – Congratulate and Repeat! Bring the back leg down behind the lead leg – toes pointing back in the direction they came from. The other arm will lift off the floor, following the first. Congratulate them! They just did a cartwheel.
More sports
Gymnastics
Gymnastics is fun, easy to start, and great for kids’ strength, balance, and confidence.Basketball
Explore fun, effective basketball drills and training tips for kids and beginners. Help your child build skills, confidence, and love…